- Customization: Choose each element based on your performance objectives.
- Cost control: Frequently less expensive than purchasing a drone that is ready to fly.
- Educational Value: Gain knowledge of flight dynamics, mechanics, and electronics.
- Repairability: Understanding its construction facilitates easier and less expensive maintenance.
2. Motors:
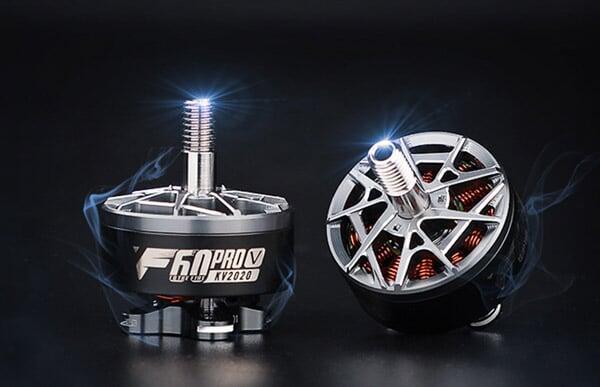
Drone motors are the driving force behind your UAV’s performance, stability, and efficiency. For better results and a longer operational life, it’s best to use brushless motors, as they provide higher efficiency, smoother operation, and require less maintenance compared to brushed motors. When selecting motors, always check the KV rating (RPM per volt) and ensure it matches your drone’s battery voltage and propeller size. A higher KV motor delivers faster rotation, ideal for racing drones, while a lower KV motor provides more torque, perfect for carrying heavier payloads or for aerial photography drones.
Today, there are various types of UAV drone motors available in the market — designed for racing, cinematic shots, industrial use, and agricultural drones. Choosing the right motor ensures your drone performs optimally for its intended purpose, giving you the perfect balance between power, efficiency, and flight time.
Explore a wide range of drone motors to find the best fit for your build and flying needs.
3. ESCs, or Electronic Speed Controllers:
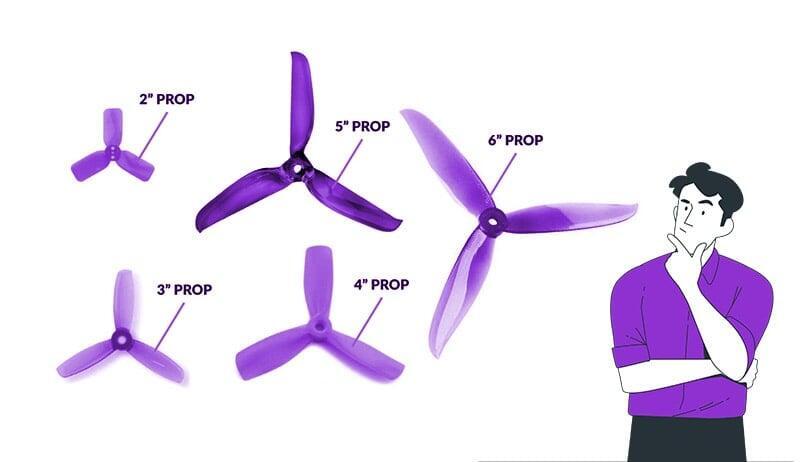
Propellers are one of the most important parts of a drone, directly affecting its speed, stability, and overall performance. The right propeller size and pitch depend on your drone’s purpose — for example, 5-inch propellers are commonly used for racing drones because they provide fast and responsive flight, while larger propellers are better suited for aerial photography or heavy-lift drones to ensure smooth and steady movement. It’s also important to consider the material of the propellers — plastic ones are lightweight and affordable, while carbon fiber propellers offer greater strength and durability. Choosing the right propellers can make a noticeable difference in your drone’s efficiency, control, and battery life. Explore a wide range of propellers to find the perfect match for your drone’s design and flying goals.
Pilot (Flight Controller):
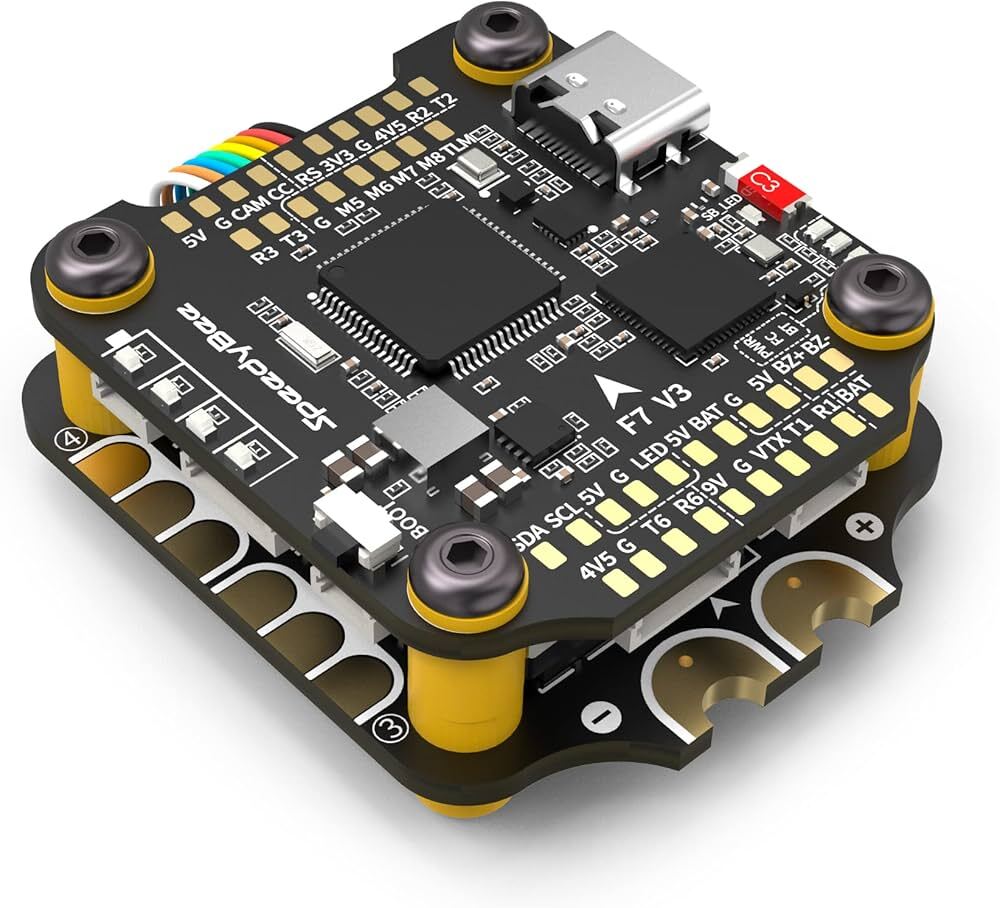
The flight controller acts as the brain of the drone, managing its stability, direction, and overall flight performance. It processes sensor data and sends commands to the motors, ensuring smooth and balanced movement in the air. Popular and reliable choices include Pixhawk, Cleanflight, and Betaflight, which are widely used by both beginners and professionals for their precision and customization options. Explore a wide range of flight controllers to find the perfect one that matches your drone’s needs and flying style.
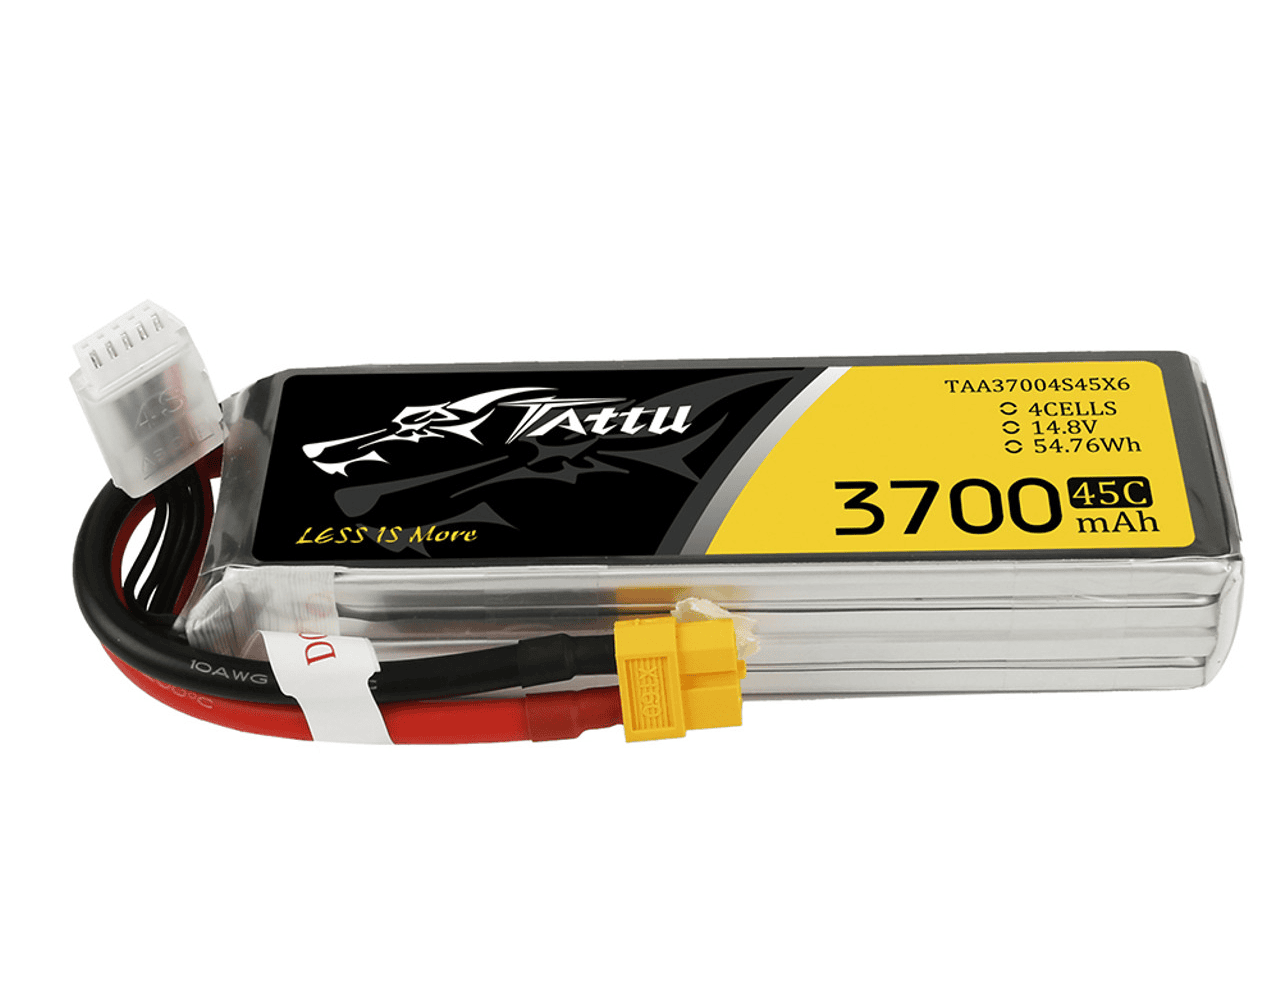
Choose a high-quality LiPo (Lithium Polymer) battery that matches your drone’s power requirements. Make sure it has the right number of cells and an appropriate discharge rate to ensure consistent performance. Always maintain a proper balance between power output and overall drone weight for better flight stability and efficiency. Explore a wide range of LiPo batteries to find one that perfectly suits your build and flying style.
7. TX/RX (Transmitter and Receiver):
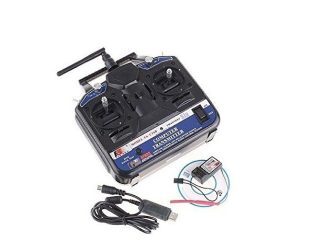
The transmitter and receiver, commonly known as TX/RX, are essential components for manual drone control. The transmitter is the handheld device that sends your commands, while the receiver on the drone interprets those signals to control its movement and functions. Choosing a reliable TX/RX system ensures smoother communication, better range, and minimal signal loss during flight. Some of the most trusted brands for drone transmitters and receivers include FrSky, FlySky, and Radiolink, known for their performance, precision, and durability. A good TX/RX setup gives pilots the confidence and responsiveness needed for stable and accurate flying.
8. Optional FPV Camera and Video Transmitter:
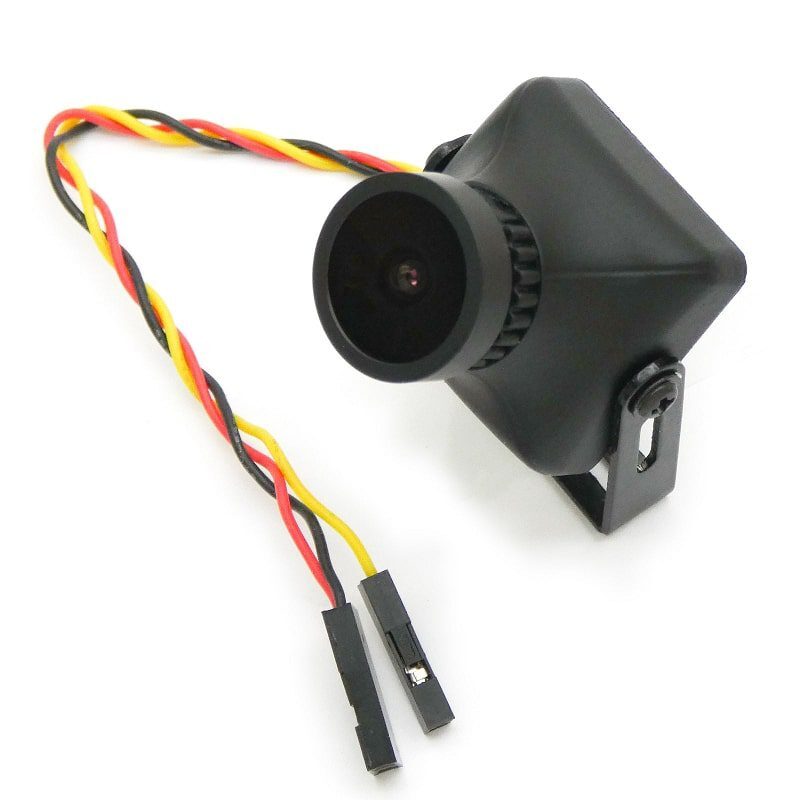
Perfect for real-time drone flying, live streaming, and high-quality recording, FPV cameras and video transmitters take your drone experience to the next level. Our wide range of drone cameras is designed for sharp imaging, low latency, and long-lasting durability, making them suitable for beginners as well as professional pilots. Whether you’re building a new camera drone from scratch or upgrading your existing setup, the right FPV camera and transmitter can greatly improve your aerial vision and control. From capturing stunning landscapes to racing through obstacle courses, these components ensure smooth and immersive video transmission every time. Explore our trusted collection of drone cameras and video transmitters today to enhance your flight experience and unlock a whole new perspective from the skies.
Perfect for real-time drone flying, live streaming, and high-quality recording, FPV cameras and video transmitters take your drone experience to the next level. Our wide range of drone cameras is designed for sharp imaging, low latency, and long-lasting durability, making them suitable for beginners as well as professional pilots. Whether you’re building a new camera drone from scratch or upgrading your existing setup, the right FPV camera and transmitter can greatly improve your aerial vision and control. From capturing stunning landscapes to racing through obstacle courses, these components ensure smooth and immersive video transmission every time. Explore our trusted collection of drone cameras and video transmitters today to enhance your flight experience and unlock a whole new perspective from the skies.
9. The Soldering Kit:
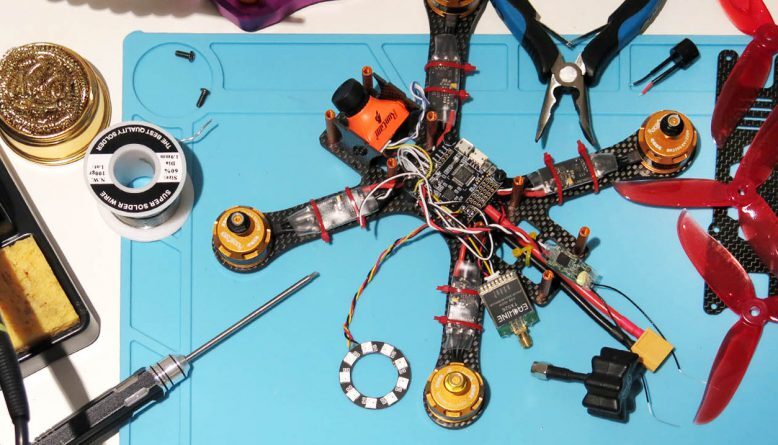
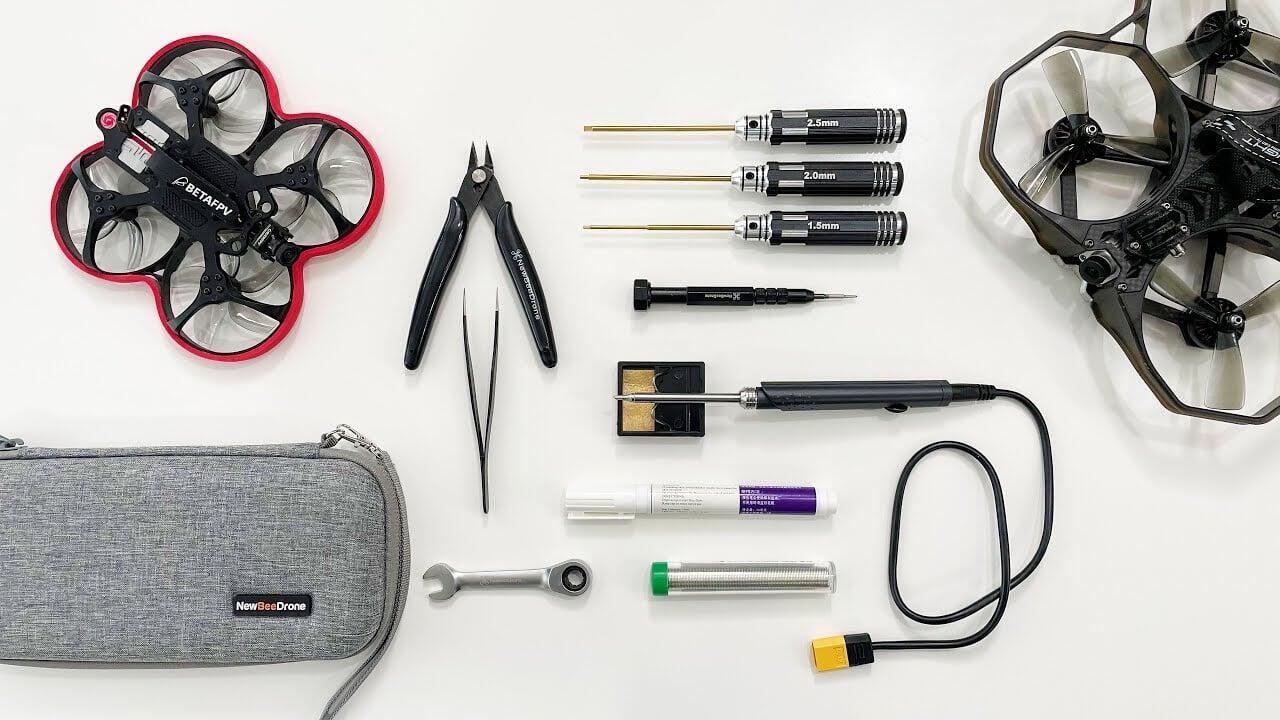
A reliable soldering kit is one of the most important tools for drone building. It includes a good-quality soldering iron, solder wire, and flux — all essential for making strong and clean electrical connections between wires, motors, and circuit boards.
10. Tools for Software:
To fine-tune your drone’s flight performance and configuration, install INAV or Betaflight. These software tools help you adjust flight parameters, calibrate sensors, and optimize stability for smoother control. For configuring and updating your ESCs (Electronic Speed Controllers), use BLHeli Suite, which allows you to manage motor directions, throttle response, and firmware updates to ensure efficient power delivery and better flight performance.
- A Comprehensive Guide to Building a Do-It-Yourself Drone:
Building your own drone is an exciting and rewarding project. It helps you understand how each component works and gives you full control over your drone’s performance. Whether you’re a beginner or a hobbyist, this step-by-step guide will walk you through the essential process of building a reliable DIY drone from scratch
Building your own drone is an exciting and rewarding project. It helps you understand how each component works and gives you full control over your drone’s performance. Whether you’re a beginner or a hobbyist, this step-by-step guide will walk you through the essential process of building a reliable DIY drone from scratch
Step 1: Assemble the Frame
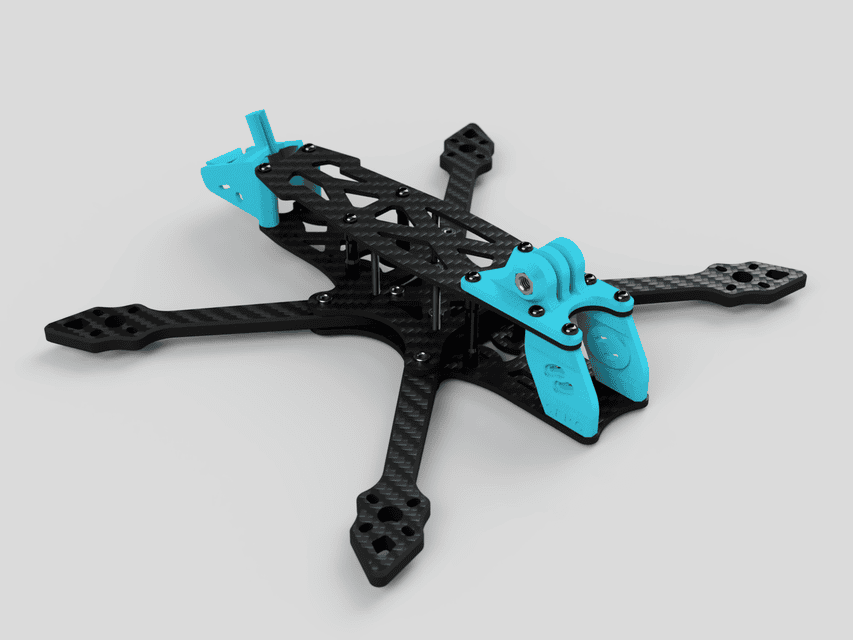
Start by setting up the drone frame, which acts as the foundation of your build. Carefully secure the arms and the base plate using screws and bolts. Make sure all parts are properly aligned and tightened. Any imbalance or misalignment here can affect your drone’s stability during flight. Take your time to ensure that the frame is sturdy and evenly balanced before moving to the next step.
Start by setting up the drone frame, which acts as the foundation of your build. Carefully secure the arms and the base plate using screws and bolts. Make sure all parts are properly aligned and tightened. Any imbalance or misalignment here can affect your drone’s stability during flight. Take your time to ensure that the frame is sturdy and evenly balanced before moving to the next step.
Step 2: Mount the Motors
Now it’s time to install the motors. Attach each motor to its designated mount on the frame using screws. Make sure the orientation is correct — some motors spin clockwise (CW) and others counterclockwise (CCW). Incorrect alignment can cause your drone to spin uncontrollably. Double-check the motor positions before securing them tightly.
Now it’s time to install the motors. Attach each motor to its designated mount on the frame using screws. Make sure the orientation is correct — some motors spin clockwise (CW) and others counterclockwise (CCW). Incorrect alignment can cause your drone to spin uncontrollably. Double-check the motor positions before securing them tightly.
Step 3: Install the ESCs (Electronic Speed Controllers)
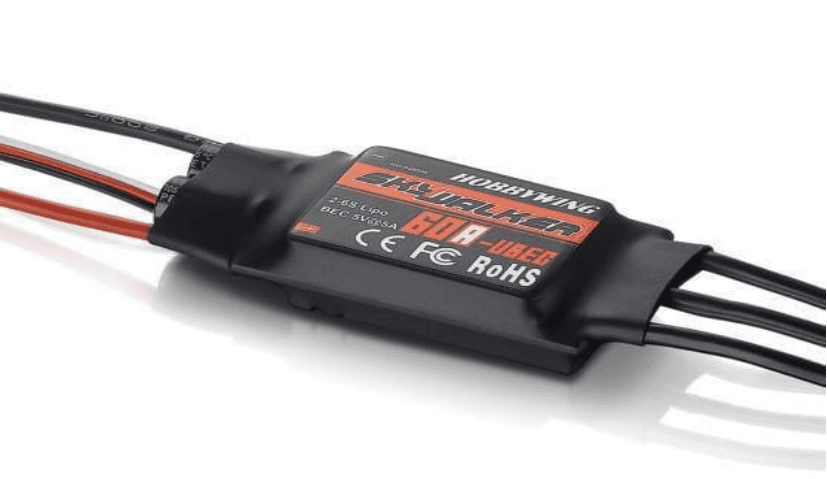
The ESCs are responsible for controlling the speed of each motor. Mount each ESC close to its respective motor for efficient wiring. Carefully solder the motor wires to the ESCs, ensuring strong and clean connections. After soldering, insulate the exposed areas using heat shrink tubing to prevent short circuits. Good insulation also improves safety and durability.
The ESCs are responsible for controlling the speed of each motor. Mount each ESC close to its respective motor for efficient wiring. Carefully solder the motor wires to the ESCs, ensuring strong and clean connections. After soldering, insulate the exposed areas using heat shrink tubing to prevent short circuits. Good insulation also improves safety and durability.
Step 4: Wire the Power Distribution Board (PDB)
Next, connect the ESCs to the Power Distribution Board (PDB). The PDB distributes power from the main battery to all components. Solder the power wires from the ESCs to the correct terminals on the board. Pay special attention to the polarity — connecting positive and negative wires incorrectly can damage the electronics. Once done, double-check each solder joint for a secure connection.
Next, connect the ESCs to the Power Distribution Board (PDB). The PDB distributes power from the main battery to all components. Solder the power wires from the ESCs to the correct terminals on the board. Pay special attention to the polarity — connecting positive and negative wires incorrectly can damage the electronics. Once done, double-check each solder joint for a secure connection.
Step 5: Mount the Flight Controller
The flight controller is the brain of your drone. It receives data from sensors and translates your commands into motor actions. Mount the flight controller at the center of the frame using vibration-damping pads to reduce interference from motor vibrations. Connect it to the ESCs, receiver, and other required components as per the wiring diagram. A properly mounted controller ensures smoother and more stable flight.
The flight controller is the brain of your drone. It receives data from sensors and translates your commands into motor actions. Mount the flight controller at the center of the frame using vibration-damping pads to reduce interference from motor vibrations. Connect it to the ESCs, receiver, and other required components as per the wiring diagram. A properly mounted controller ensures smoother and more stable flight.
Step 6: Connect the FPV System (Optional)
If you plan to add an FPV (First-Person View) setup, this is the right time. Mount the FPV camera at the front of your drone and attach the video transmitter (VTX) securely on the frame. Ensure that the antennas are firmly in place and positioned away from the receiver to avoid signal interference. A clean and well-mounted FPV system enhances your flying experience and provides a clear, real-time video feed.
If you plan to add an FPV (First-Person View) setup, this is the right time. Mount the FPV camera at the front of your drone and attach the video transmitter (VTX) securely on the frame. Ensure that the antennas are firmly in place and positioned away from the receiver to avoid signal interference. A clean and well-mounted FPV system enhances your flying experience and provides a clear, real-time video feed.
Step 7: Attach the Propellers
Propellers should be attached only after all electronic setup and configuration are complete for safety reasons. Match the correct propeller type to its corresponding motor direction — clockwise (CW) propellers to CW motors and counterclockwise (CCW) propellers to CCW motors. Tighten them properly, but don’t overtighten, as it may damage the motor shafts. Properly balanced propellers improve flight efficiency and reduce vibrations.
Propellers should be attached only after all electronic setup and configuration are complete for safety reasons. Match the correct propeller type to its corresponding motor direction — clockwise (CW) propellers to CW motors and counterclockwise (CCW) propellers to CCW motors. Tighten them properly, but don’t overtighten, as it may damage the motor shafts. Properly balanced propellers improve flight efficiency and reduce vibrations.
Step 8: Flash and Configure the Firmware
With the hardware ready, move on to the software part. Use Betaflight Configurator or similar software to flash the latest firmware onto your flight controller. Once done, calibrate the sensors, including the accelerometer and gyroscope, and configure the flight modes (like angle, horizon, or acro). Test motor directions through the software to confirm they spin correctly. This step ensures your drone behaves as expected during flight.
With the hardware ready, move on to the software part. Use Betaflight Configurator or similar software to flash the latest firmware onto your flight controller. Once done, calibrate the sensors, including the accelerometer and gyroscope, and configure the flight modes (like angle, horizon, or acro). Test motor directions through the software to confirm they spin correctly. This step ensures your drone behaves as expected during flight.
Step 9: Perform Final Safety Checks
Before your maiden flight, take a few minutes to do a final inspection:
Recheck all connections – Make sure no wires are loose or incorrectly connected.
Perform a continuity test – Use a multimeter to check for short circuits before plugging in the battery.
Secure the battery – Use a strong Velcro strap or battery holder to keep the battery firmly in place during flight.
Propeller check – Ensure all propellers are firmly attached and free of cracks.
After these checks, place your drone on a flat surface, arm it carefully, and test basic movements at low throttle.

