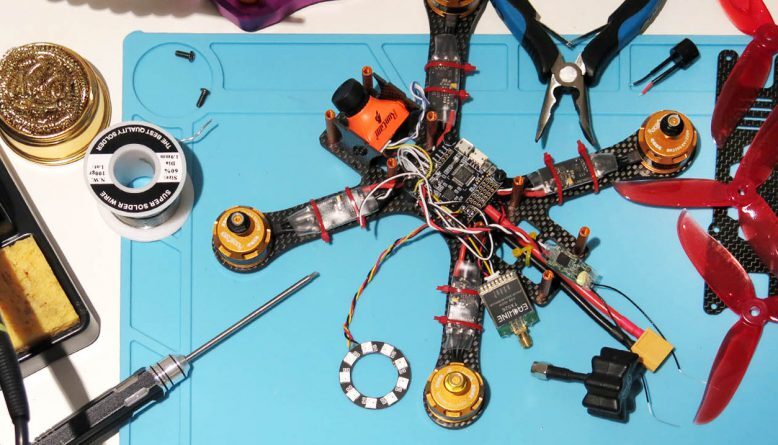
One of the most fulfilling experiences for tech enthusiasts, hobbyists, and evenprofessionals is building your own drone. It not only helps you learn more aboutUAV (Unmanned Aerial Vehicle)
technology, but it also allows you to personalizeyour drone to suit your needs, be they agricultural surveying, FPV racing, or aerialphotography. We'll walk you through the necessary drone building tools,
professional advice, and the most frequent mistakes to avoid in this comprehensive do-it-yourself drone building guide.
Why Build Your Own Drone?
Let's first examine the benefits of building a do-it-yourself drone before getting into the how-to:
Customization: Choose each element based on your performance objectives.
Cost control: Frequently less expensive than purchasing a drone that is ready to fly.
Educational Value: Gain knowledge of flight dynamics, mechanics, and electronics.Repairability: Understanding its construction facilitates easier and less expensive
maintenance.
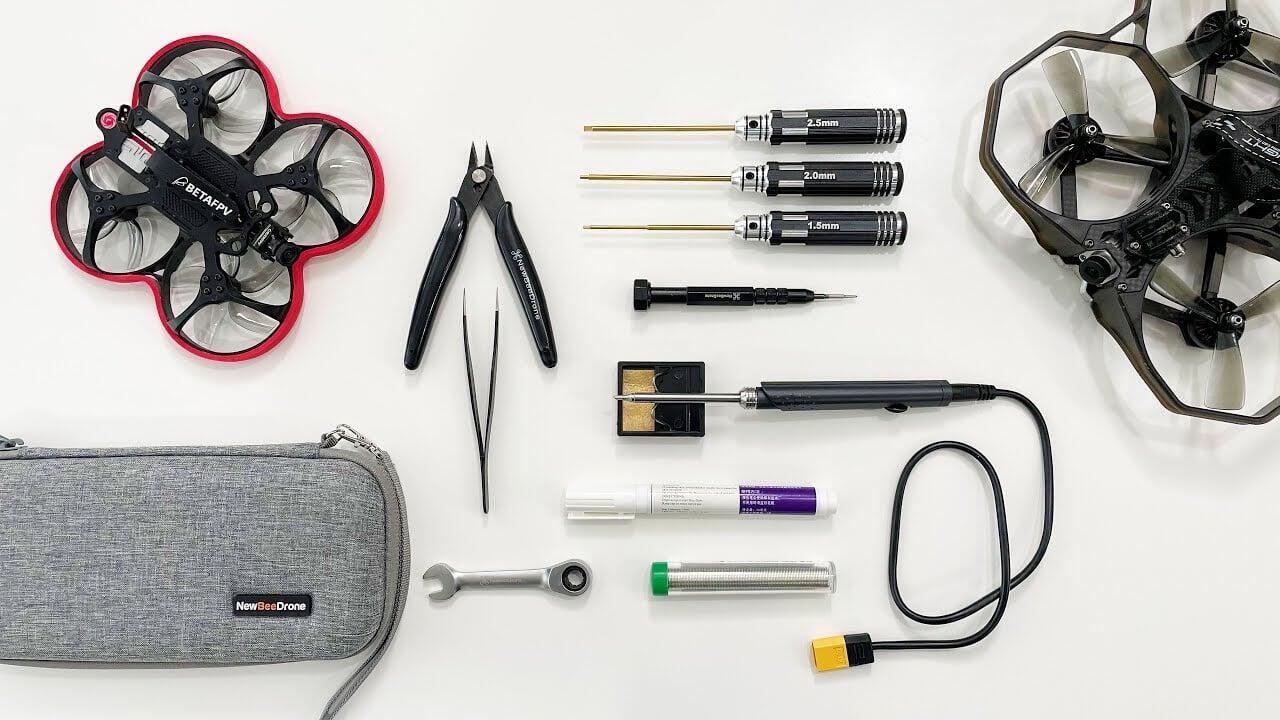
Crucial Equipment and Parts for Do-It-Yourself Drone Construction
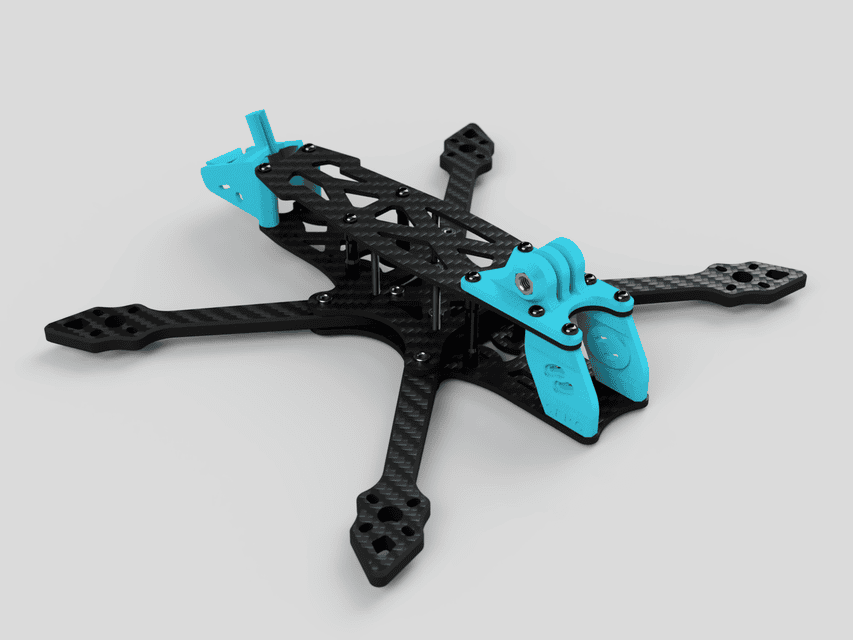
1. Drone frame
Depending on weight and durability requirements, pick plastic or carbon fiber. Common varieties include Deadcat frames for FPV drones, X-frames, and H-frames, there are also racing drone frame.
1. Motors For improved performance and a longer lifespan, use brushless drone motors. Verify the motor's KV rating against the specifications of your battery and propeller. there are various types of uav drone motors in the market.
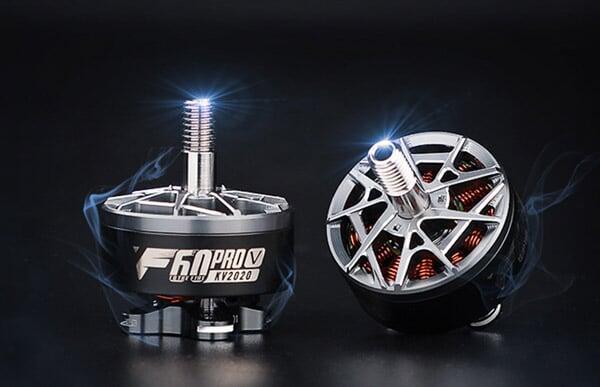
1. Motors
For improved performance and a longer lifespan, use brushless drone motors. Verify the motor's KV rating against the specifications of your battery and propeller. there are various types of uav drone motors in the market.
3. ESCs, or electronic speed controllers Think about compatibility with your flight controller and current ratings.For cleaner builds, use 4-in-1 ESCs.We use ESC for drone for precision control of the drone motors.
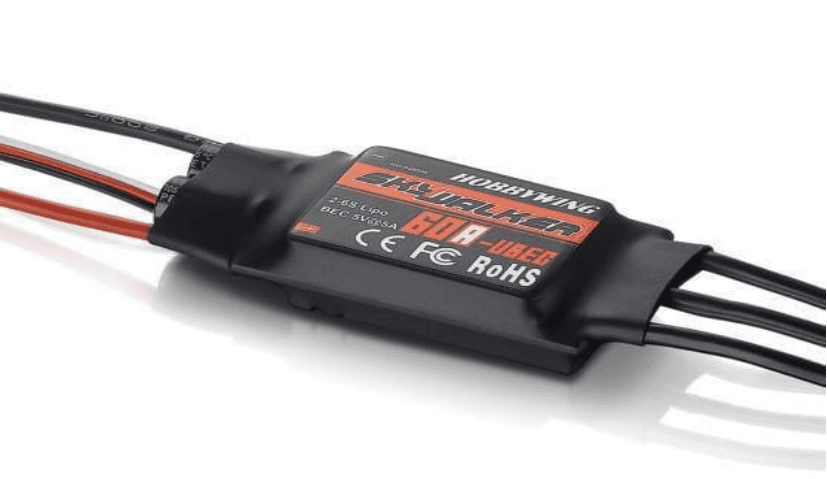
3. ESCs, or electronic speed controllers
Think about compatibility with your flight controller and current ratings.For cleaner builds, use 4-in-1 ESCs.We use ESC for drone for precision control of the drone motors.
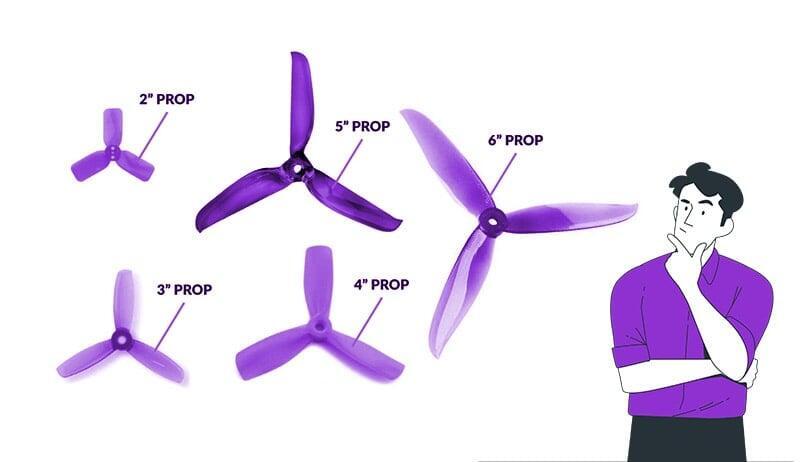
4. Drone PropellersDrone Propellers.Depending on the purpose of your drone, choose prop size and pitch (5-inch for racing, for example).
4. Drone Propellers
Drone Propellers.Depending on the purpose of your drone, choose prop size and pitch (5-inch for racing, for example).
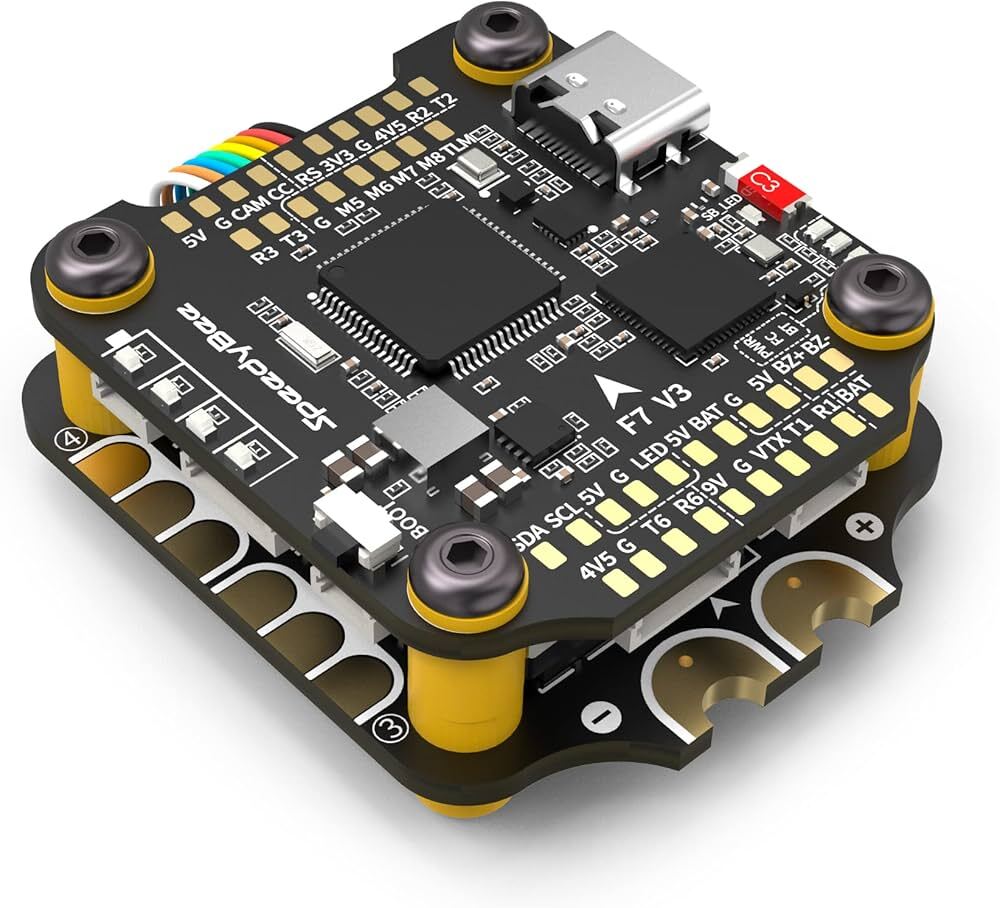
5. Pilot (Flight Controller) serves as the drone's brain. Pixhawk, Cleanflight, and Betaflight are popular choices.
5. Pilot (Flight Controller)
serves as the drone's brain. Pixhawk, Cleanflight, and Betaflight are popular choices.
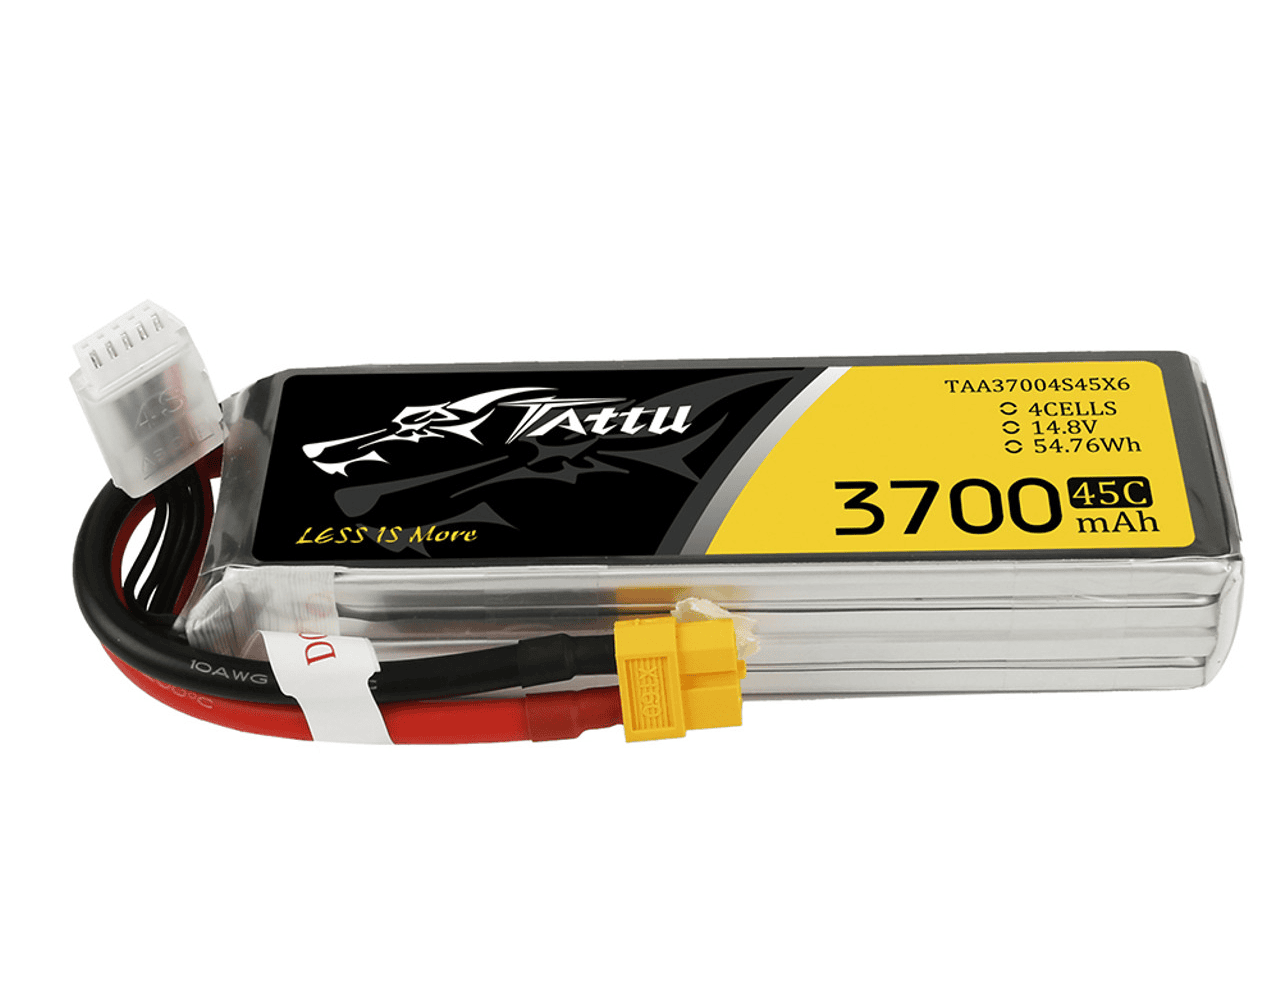
6. Drone LiPo battery Select a premium LiPo battery with the appropriate number of cells and rate of discharge.Maintain equilibrium between power and weight.
6. Drone LiPo battery
Select a premium LiPo battery with the appropriate number of cells and rate of discharge.
Maintain equilibrium between power and weight.
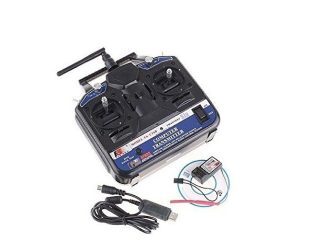
7. TX/RX (transmitter and receiver) Drone transmitter and Receiver. Required for manual control. Reputable brands include FrSky, FlySky, and Radiolink.
7. TX/RX (transmitter and receiver)
Drone transmitter and Receiver. Required for manual control. Reputable brands include FrSky, FlySky, and Radiolink.
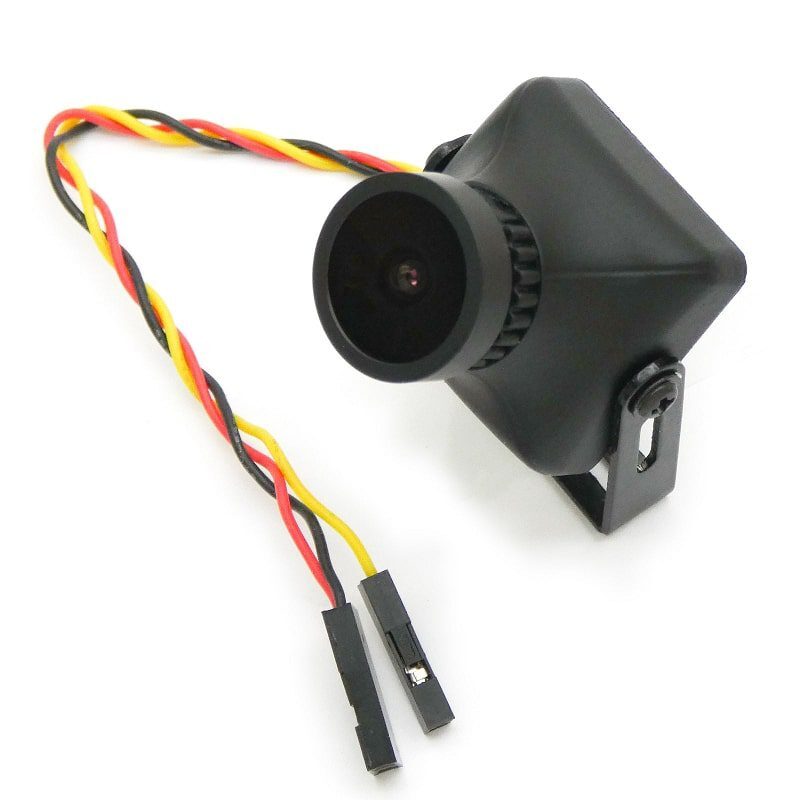
8. Optional FPV Camera and Video Transmitter Perfect for real-time drone flying and recording. Our range of drone cameras offers sharp imaging and durability for all levels of pilots. Whether you're building a camera drone or upgrading your setup, we’ve got you covered. Shop trusted gears and boost your aerial vision today!
8. Optional FPV Camera and Video Transmitter
Perfect for real-time drone flying and recording. Our range of drone cameras offers sharp imaging and durability for all levels of pilots. Whether you're building a camera drone or upgrading your setup, we’ve got you covered. Shop trusted gears and boost your aerial vision today!
10. Tools for Software Install INAV or Betaflight for tuning and configuration. For ESC setup, use BLHeli Suite
10. Tools for Software
Install INAV or Betaflight for tuning and configuration.
For ESC setup, use BLHeli Suite
A Comprehensive Guide to Building a Do-It-Yourself Drone Step 1: Assemble the FrameSecure the arms and base plate using screws. Make sure everything is aligned properly to avoid balance issues.Step 2: Mount the MotorsScrew the motors into the designated motor mounts. Ensure they're aligned in the correct orientation (CW/CCW).Step 3: Install the ESCsAttach ESCs close to each motor and solder the motor wires. Insulate the connections with heat shrink tubes.
Step 4: Wire the Power Distribution Board (PDB)
Solder ESC power wires to the PDB. Make sure you follow correct polarity.
Step 5: Mount the Flight Controller
Use vibration-damping pads to minimize signal noise. Connect it to the ESCs and receiver.
Step 6: Connect FPV System (If applicable)
Mount the camera and video transmitter. Make sure the antennas are secure and positioned away from the receiver.
Step 7: Attach Propellers
Do this last, and only after configuring everything. Match the correct props to CW/CCW motors.
Step 8: Flash and Configure Firmware
Use Betaflight Configurator to flash firmware, calibrate sensors, set flight modes, and test motor direction.
Step 9: Final Safety Checks
1.Recheck all connections2.Perform continuity test using a multimeter3.Strap down battery securely
A Comprehensive Guide to Building a Do-It-Yourself Drone
Step 1: Assemble the Frame
Secure the arms and base plate using screws. Make sure everything is aligned properly to avoid balance issues.
Step 2: Mount the Motors
Screw the motors into the designated motor mounts. Ensure they're aligned in the correct orientation (CW/CCW).
Step 3: Install the ESCs
Attach ESCs close to each motor and solder the motor wires. Insulate the connections with heat shrink tubes.
Step 4: Wire the Power Distribution Board (PDB)
Solder ESC power wires to the PDB. Make sure you follow correct polarity.
Step 5: Mount the Flight Controller
Use vibration-damping pads to minimize signal noise. Connect it to the ESCs and receiver.
Step 6: Connect FPV System (If applicable)
Mount the camera and video transmitter. Make sure the antennas are secure and positioned away from the receiver.
Step 7: Attach Propellers
Do this last, and only after configuring everything. Match the correct props to CW/CCW motors.
Step 8: Flash and Configure Firmware
Use Betaflight Configurator to flash firmware, calibrate sensors, set flight modes, and test motor direction.
Step 9: Final Safety Checks
1.Recheck all connections
2.Perform continuity test using a multimeter
3.Strap down battery securely
Pro Tips for a Successful DIY Drone Build 1. Label Your Wires: Avoid confusion during wiring. 2. Use Zip Ties and Heat Shrink: Keeps everything clean and reduces the risk of short circuits.3. Balance Your Props: Unbalanced props cause vibration and reduce flight efficiency.4. Calibrate Everything: Sensors, ESCs, radio, and accelerometers. 5.Test Without Propellers First: Use the motor tab in Betaflight to test motor spin direction.
Common Mistakes to Avoid When Building a Drone1.Wrong Motor-Prop Combo: Can lead to overheating and poor flight time. 2.Incorrect Wiring: Always double-check polarity to avoid frying components. 3.Skipping Firmware Updates: Old firmware can cause instability. 4.Overloading the Frame: Keep your build light for better flight time. 5.Loose Screws and Mounts: Can cause mid-flight crashes.
Final Thoughts Whether you're a beginner or an intermediate builder, the process of assembling your own drone gives you a solid understanding of how UAV systems work. With the right DIY drone building tools, smart planning, and awareness of common pitfalls, you'll be ready to take off in no time.If you're looking for high-quality drone parts, check out our wide selection of ESCs, motors, frames, and FPV gear on UAV MARKETPLACE
Pro Tips for a Successful DIY Drone Build
1. Label Your Wires: Avoid confusion during wiring.
2. Use Zip Ties and Heat Shrink: Keeps everything clean and reduces the risk of short circuits.
3. Balance Your Props: Unbalanced props cause vibration and reduce flight efficiency.
4. Calibrate Everything: Sensors, ESCs, radio, and accelerometers.
5.Test Without Propellers First: Use the motor tab in Betaflight to test motor spin direction.
Common Mistakes to Avoid When Building a Drone
1.Wrong Motor-Prop Combo: Can lead to overheating and poor flight time.
2.Incorrect Wiring: Always double-check polarity to avoid frying components.
3.Skipping Firmware Updates: Old firmware can cause instability.
4.Overloading the Frame: Keep your build light for better flight time.
5.Loose Screws and Mounts: Can cause mid-flight crashes.
Final Thoughts
Whether you're a beginner or an intermediate builder, the process of assembling your own drone gives you a solid understanding of how UAV systems work. With the right DIY drone building tools, smart planning, and awareness of common pitfalls, you'll be ready to take off in no time.
If you're looking for high-quality drone parts, check out our wide selection of ESCs, motors, frames, and FPV gear on UAV MARKETPLACE